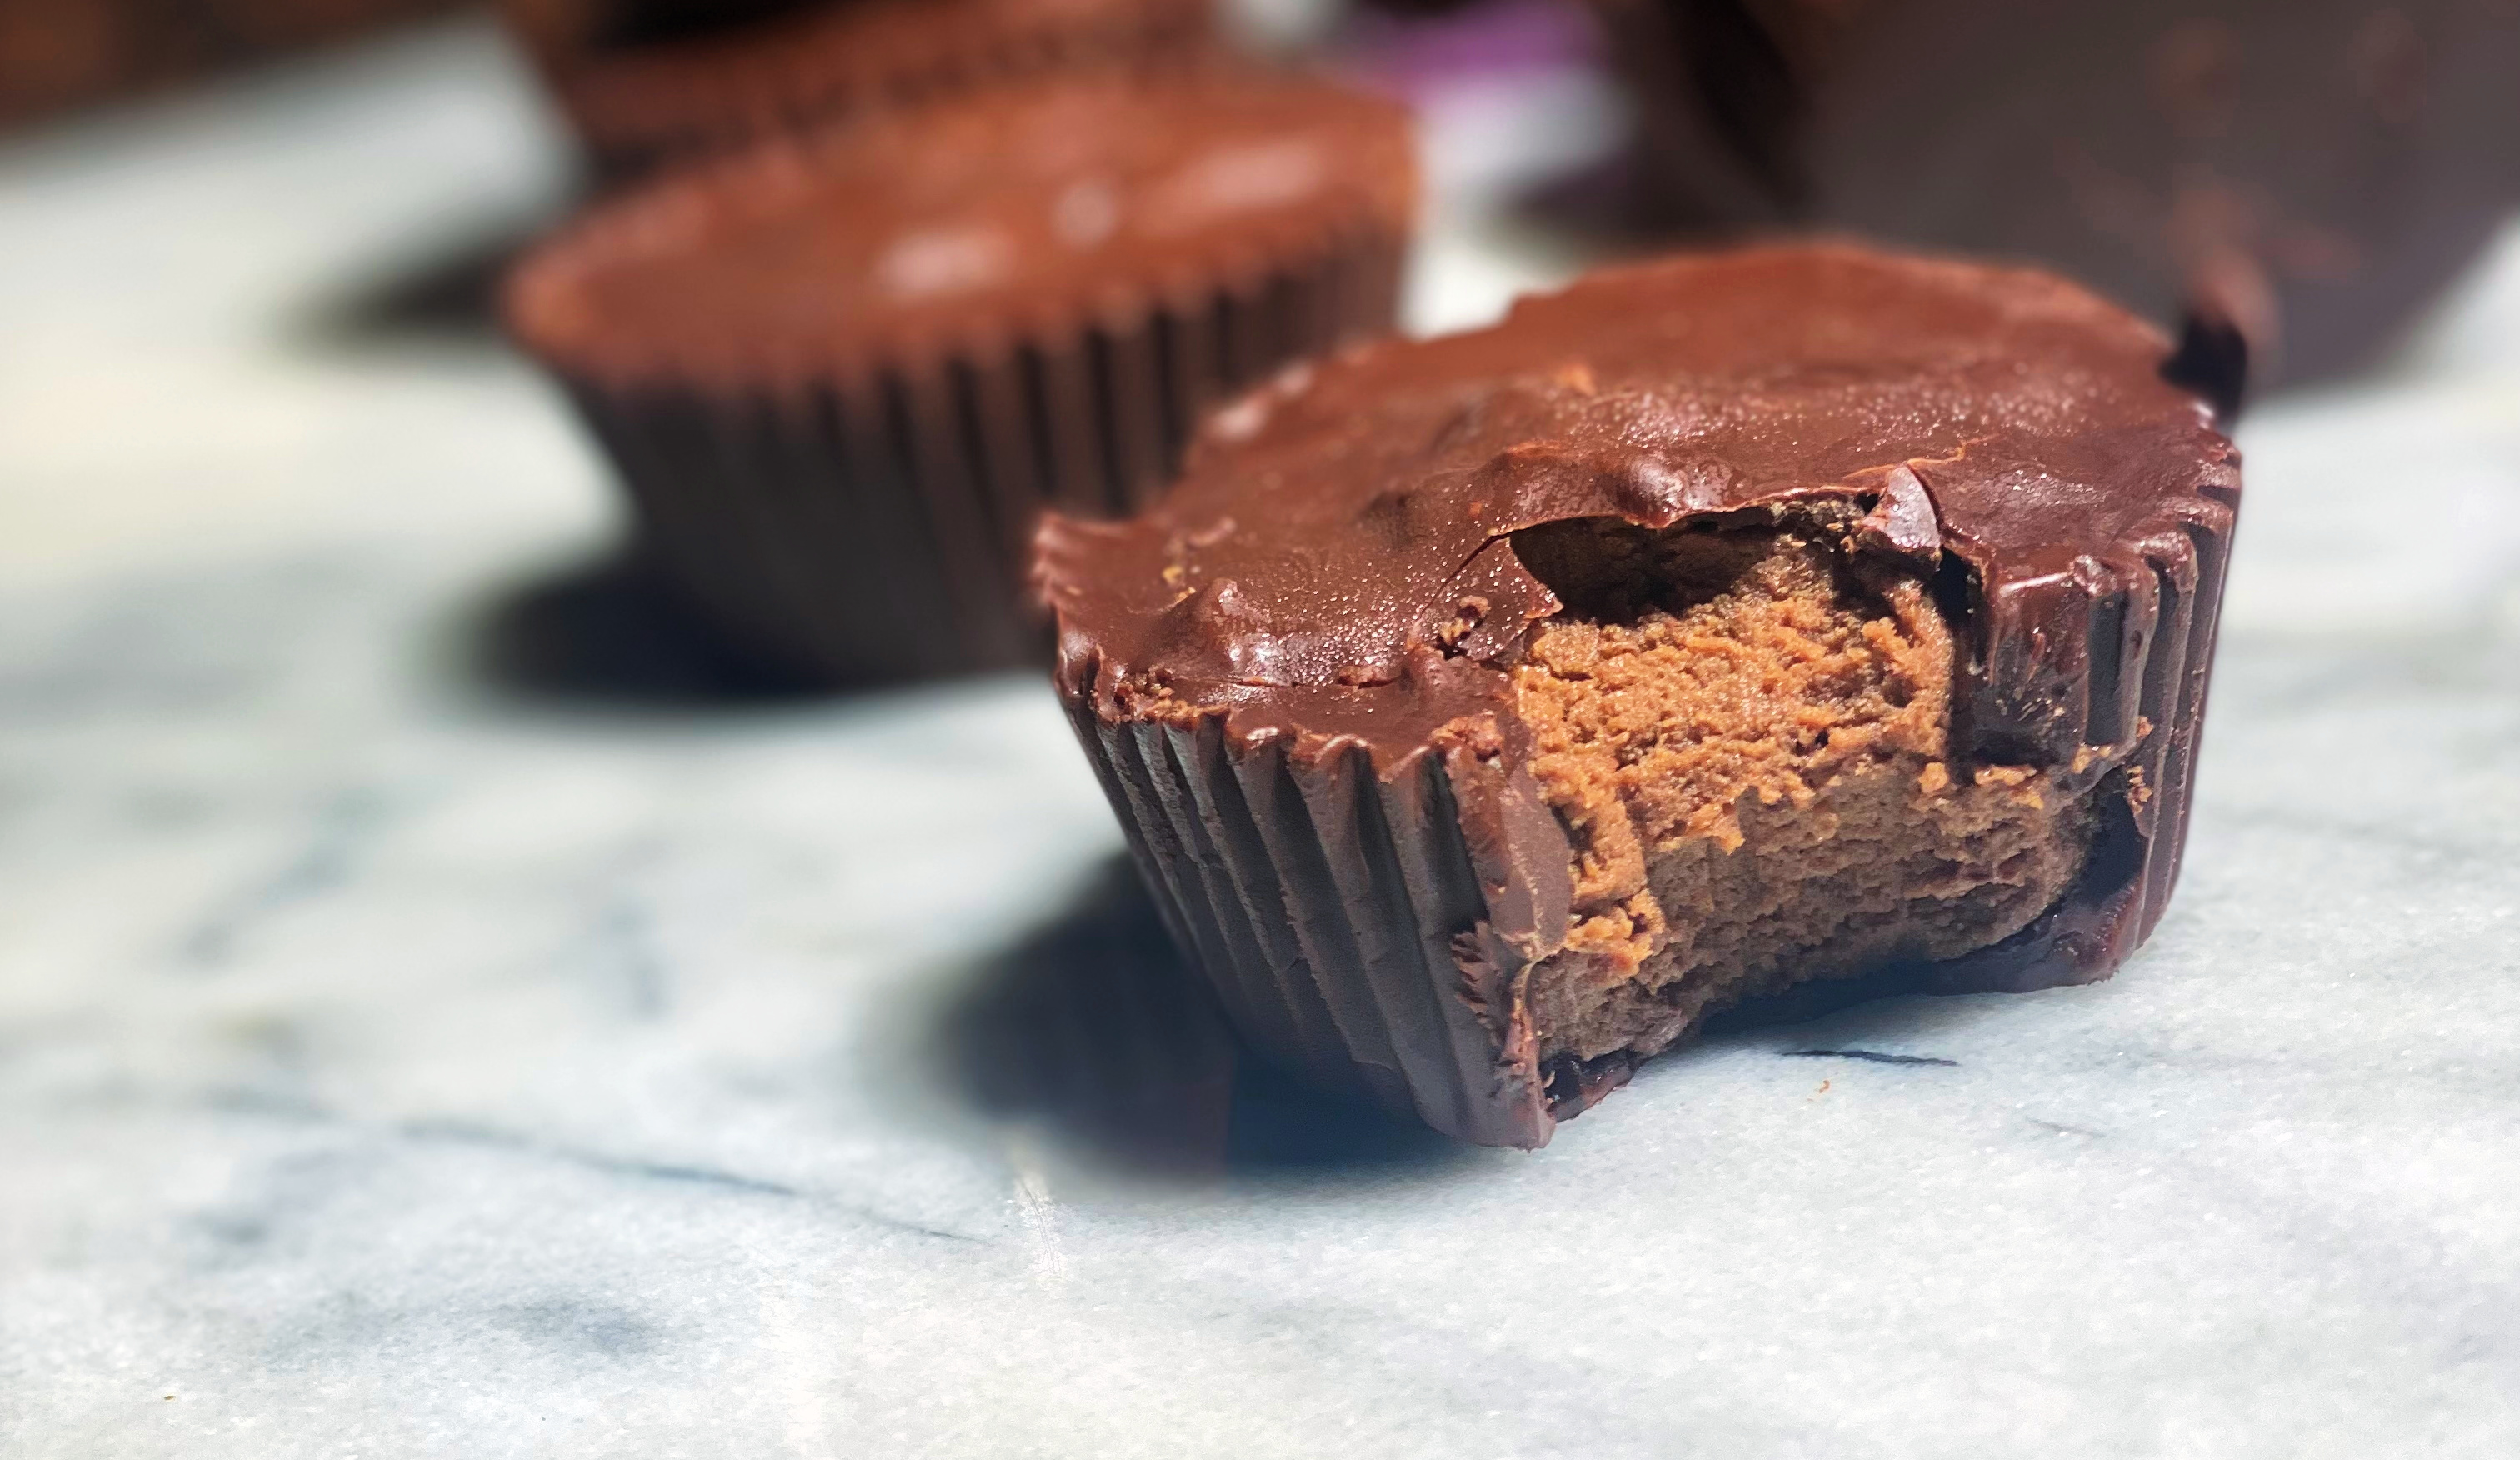
Whipped pea protein, vanilla paste, date syrup, creamy almond milk, sea salt and nutty peanut butter filled dark chocolate cups


FEATURED STANDOUTS
Dark Chocolate
Dark chocolate is a rich and luxurious chocolate with a deep, complex flavor. Its high cocoa content makes it a healthier choice, as it is packed with antioxidants and minerals.
Pea Protein
Pea protein powder is a plant-based protein source that is easily digestible and hypoallergenic. It is a great alternative to whey protein for those with lactose intolerance or vegan diets.
Vanilla Paste
A concentrated form of vanilla extract that provides a more intense and robust flavor. It is made by infusing vanilla beans in a carrier liquid, such as alcohol or water. You can also use vanilla extract instead of vanilla paste.
Sea Salt
Sea salt is natural salt that is harvested from seawater. It has a unique, briny flavor that enhances the sweetness of other ingredients.
Peanut Butter
Peanut butter is a creamy and nutty spread made from roasted peanuts. It is a good source of protein, fiber, and healthy fats.
Date Paste
Dates are grape sized and dark brown.Dates are often used as an naturally sweetener since they are packed with sugar. It is a healthier alternative to refined sugar, as it is high in fiber and antioxidants.
Almond Milk
Almond milk is a plant-based milk made from almonds. Almond milk is made by blending almonds with water and then straining the mixture. It can be made at home or purchased pre-made in stores.
TIPS & TRICKS FOR THE BEST HIGH-PROTEIN PEANUT BUTTER CUPS
Tempering the chocolate is a must
You can always melt chocolate and coat the cups and the result will be sticky but a chocolate coating to make this recipe portable and little more secure temper the chocolate for a nice hardened cracking shell.
Ratio of protein powder to peanut butter
- Taste Preference:
- For a more pronounced peanut butter flavor, use a 1:1 ratio (equal parts protein powder and peanut butter).
- For a more neutral flavor, use a 2:1 ratio (twice as much protein powder as peanut butter).
- Dietary Goals:
- For a higher protein snack, use a 3:1 ratio (three times as much protein powder as peanut butter).
- Desired Consistency:
- For a creamy, spreadable consistency, use a 1:1 or 2:1 ratio.
- For a thicker, more textured consistency, use a 3:1 ratio.
Here are some additional considerations:
- Protein Powder Choice:
- Use a protein powder that aligns with your dietary preferences and goals (e.g., whey, casein, plant-based).
- Peanut Butter Quality:
- Choose natural peanut butter without added sugars or oils for a healthier option
Don’t fill your cups till you reach your desired consistency. The cups will firm up after chilling.
How to make almond milk at home
- Use raw, unsalted almonds.
- Soak the almonds in water for at least 8 hours, or overnight.
- Drain the almonds and rinse them well.
- Add the almonds to a blender with 4 cups of water.
- Blend on high speed for 1-2 minutes, or until the almonds are smooth.
- Strain the almond milk through a cheesecloth or nut milk bag.
- Store the almond milk in the refrigerator for up to 5 days.
The best peanut butter for these cups
The best peanut butter for these cups is a matter of personal preference, but there are a few key factors to consider.
Flavor: Peanut butter comes in a variety of flavors, from classic roasted to more unique options like honey roasted or chocolate peanut butter. Choose a peanut butter that has a flavor that you enjoy and that will complement the other ingredients in the cups.
Texture: Peanut butter can also vary in texture, from smooth to crunchy. For these cups, a smooth peanut butter will work best, as it will create a creamy filling that is easy to eat.
Quality: Not all peanut butters are created equal. When choosing a peanut butter for these cups, look for a high-quality brand that uses only the finest peanuts. This will ensure that your cups have the best possible flavor and texture.
Why Date Paste?
Date paste is a natural sweetener made from whole dates. It is a great alternative to refined sugar and other sweeteners. Date paste is high in fiber, potassium, and other essential nutrients. It also has a low glycemic index, meaning it won’t cause a spike in blood sugar levels.
How to Make Date Paste at Home
Date paste is a delicious and versatile sweetener that can be used in a variety of recipes. It’s made from dried dates, which are naturally sweet and packed with nutrients. Date paste is also a great alternative to refined sugar, as it has a lower glycemic index and is high in fiber.
Ingredients:
- 1 cup of dried dates, pitted
- 1/4 cup of water
Instructions:
- In a food processor or high-speed blender, combine the dates and water.
- Blend on high speed for 1-2 minutes, or until the dates are smooth and creamy.
- If the paste is too thick, add a little more water and blend again.
- Transfer the date paste to a jar or container and store it in the refrigerator for up to 2 weeks.
What if You Don’t Have Date Paste?
If you don’t have date paste on hand, you can make your own by blending pitted dates with a small amount of water until smooth. Alternatively, you can substitute another natural sweetener, such as honey or maple syrup.
How to temper chocolate
Tempering chocolate is a critical step in chocolate making that ensures the chocolate has a smooth, glossy finish, a satisfying snap, and a stable structure.
- Prepare Your Workspace:
- Ensure your work surface is clean and free of moisture.
- Gather your tools, including a double boiler or microwave-safe bowl, a thermometer, and a heatproof spatula.
- Melt the Chocolate:
- Chop the chocolate into small pieces.
- Place 2/3 of the chocolate in a double boiler or microwave-safe bowl.
- Heat the chocolate over low heat, stirring occasionally, until it reaches a temperature of 115°F (46°C).
- Cool the Chocolate:
- Remove the chocolate from the heat and let it cool slightly.
- Stir continuously until the chocolate reaches a temperature of 82°F (28°C).
- Add the Reserved Chocolate:
- Add the remaining 1/3 of chocolate and stir until it completely melts and combines with the tempered chocolate.
- This process will bring the temperature of the chocolate back up to the desired range.
- Check the Temperature:
- Use a thermometer to ensure the chocolate is between 88°F (31°C) and 90°F (32°C).
- If the temperature is too low, place the chocolate back over low heat, stirring constantly, until it reaches the desired temperature.
- If the temperature is too high, let the chocolate cool slightly before proceeding.
- Temper the Chocolate:
- As you work, the chocolate will start to thicken and become more viscous.
- Continue working the chocolate until it reaches the desired consistency, which should be thick and glossy.
- Use the Tempered Chocolate:
- Once the chocolate is tempered, you can use it immediately for molding.
EQUIPMENT NEEDED TO MAKE THIS RECIPE
Double boiler
Rubber Spatula
Muffin Tin and Pan
Mixing Bowl and Measuring Spoon
SIMILAR INGREDIENTS TO
Sticky Brown Sugar Gingerbread Stuffed Sweet Potato
Banana Coconut Cream Protein Smoothie
DARK CHOCOLATE PISTACHIO BUTTER PANCAKES
ENJOY THIS RECIPE WITH
PINEAPPLE DARJEELING SMOOTHIE
COFFEE & COCOA PROTEIN BITES
DARK CHOCOLATE & PEANUT OAT CLUSTERS

Whipped pea protein, vanilla paste, date syrup, creamy almond milk, sea salt and nutty peanut butter filled dark chocolate cups
INGREDIENTS
- 3c Dark Chocolate, (1/2c seperated-for tempering)
- Filling
- 1 cup Peanut Butter, stirred
- 1 teaspoon Sea Salt
- 4 tablespoons Pea Protein
- 1 tablespoon Vanilla Extract
- 3 tablespoons Date Paste or soak and chopped whole dates
- 3-4 tablespoons Almond Milk, more if needed
INSTRUCTIONS
- Before tempering the chocolate, make the filling.
- To make the filling, combine the peanut butter with the pea protein, vanilla, sea salt, and date paste.
- Thin out the filling with almond milk as needed. The filling should be firm and not too runny.
- Temper the chocolate.
- Melt 2.5 cups of chocolate over a double boiler.
- Once melted, add in the remaining chocolate until the chocolate has smoothed out and is silky.
- Place paper cupcake liners into a pan for a better hold on the cups.
- Brush the base and edges of the cupcake cups with chocolate.
- Place the brushed molds into the refrigerator to set for 3 minutes.
- Remove the molds from the fridge and fill them with the peanut butter filling.
- Pat with a spoon to remove any gaps.
- Cover with remaining chocolate.
- Brush edge to edge and set in the fridge for 20 minutes.

LET’S STAY CONNECTED
[ss_social_follow networks=”Pinterest”]